Deploy Node/Express App on Amazon EC2
5 min read • 18 Aug 2021In this tutorial, let's learn how can we deploy a node/express app on Amazon EC2 server.
1) Let's create a Node/Express app
We need to have an node app, before deploying it. Let's create one real quick.
mkdir node-ec2-demo
cd node-ec2-demo
npm init -y
npm i express
touch index.js
Now your folder structure should look like this -

2) Setup Express
In index.js, let's create an express app
const express = require("express");
const app = express();
app.set("PORT", process.env.PORT || 4000);
app.listen(app.get("PORT"), () => {
  console.log(`Server is running at port ${app.get("PORT")}`);
});
Now, time to add some routes to our Express app.
app.get("/", (req, res) => {
  res.send("Hello, welcome to the app.");
});

app.get("/api/:slug", (req, res) => {
  const { slug } = req.params;
  res.json({
    data: { text: `/api/${slug} data` },
    success: true,
  });
});
3) Run Locally and Test
node index.js
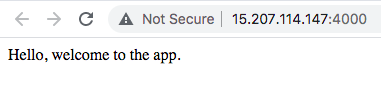
Now, open the browser and try both routes, you should get following response:

http://localhost:4000/api/some-slug

4) Creating an AWS EC2 instance
First you need to login into AWS, and goto AWS Console. https://console.aws.amazon.com/console/home
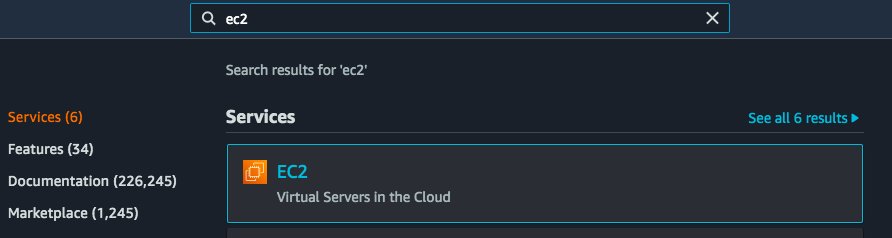
Search for EC2, and goto EC2 Dashboard.
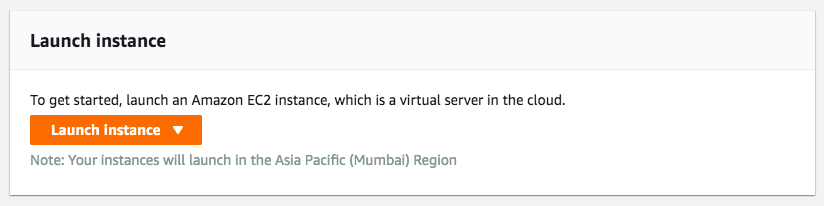
Choose 'Launch Instance'
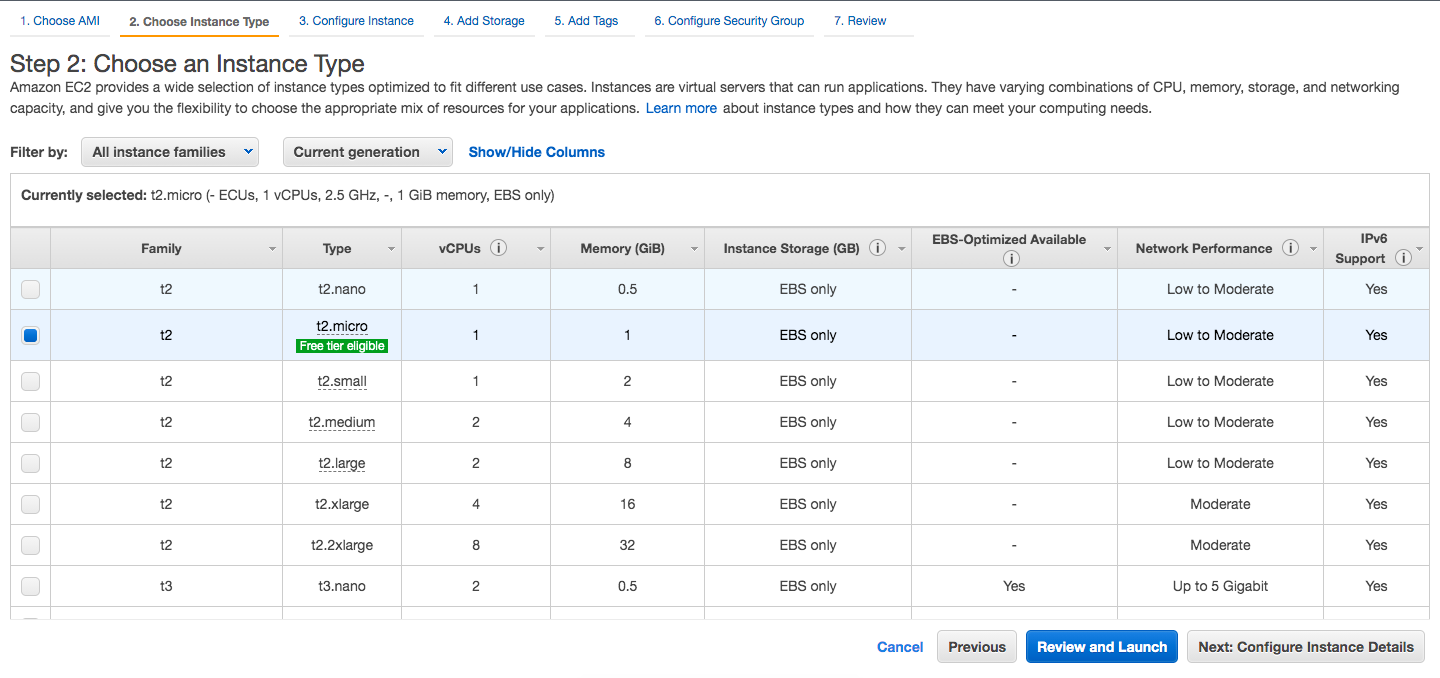
For this tutorial, I will be using a Ubuntu Free Tier Server

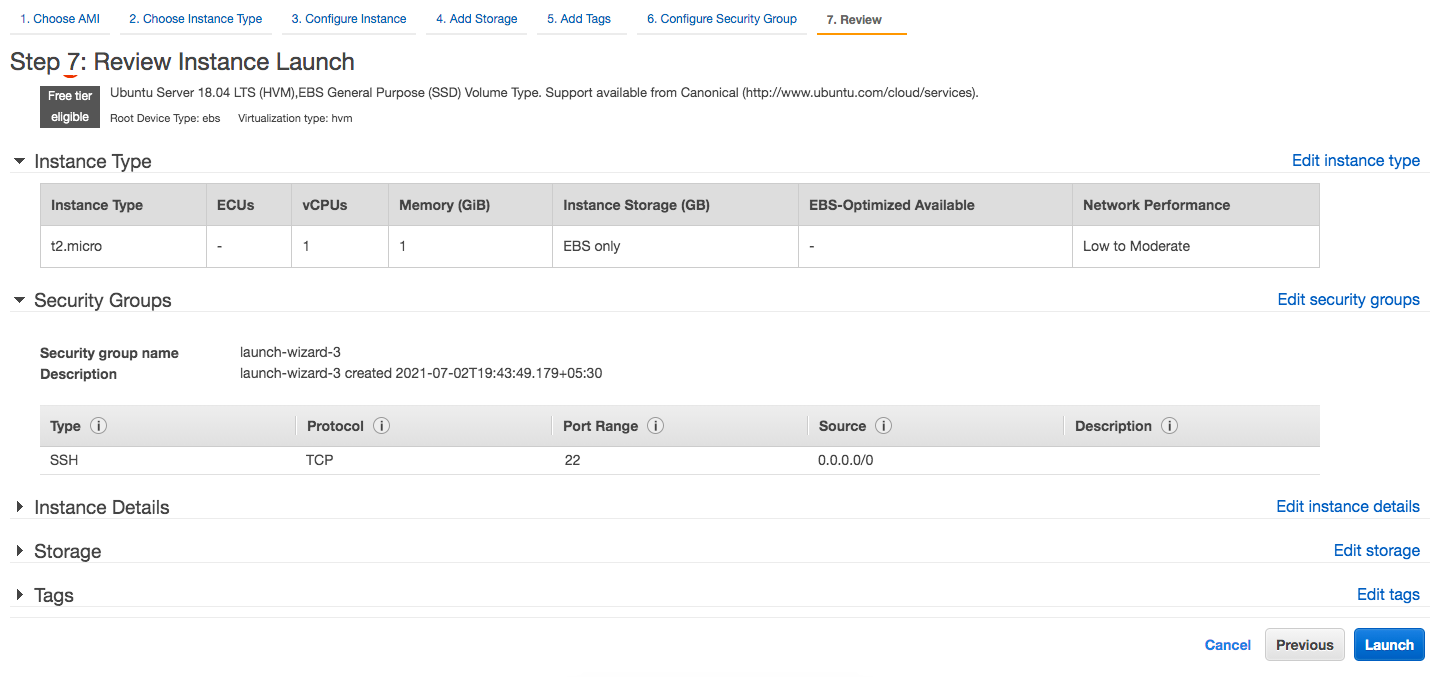
Let's keep everything as default, and click 'Review and Launch'
Launch the server
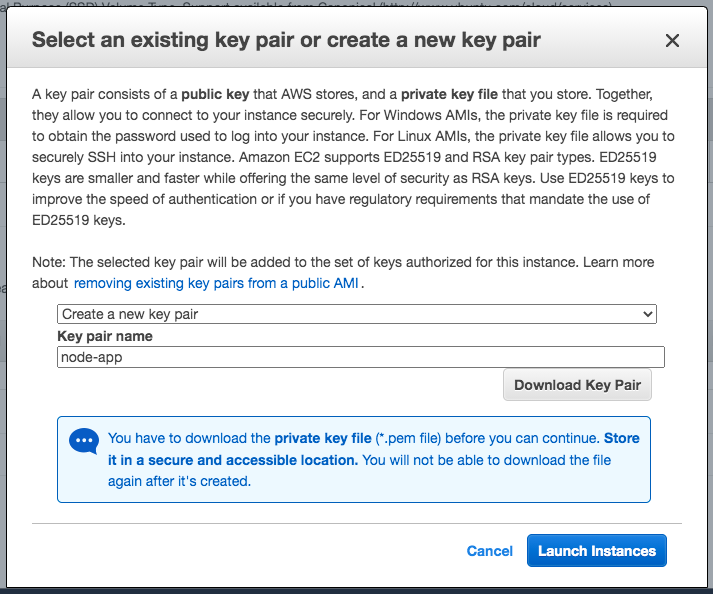
Create a key pair, download it and click Launch Instances
You will see something like this after launching the instances

Here, i-00fbc275f101090c5 is the id of my Amazon EC2 instance. In your case it will be different. Just click on it and proceed further. Now, you need to connect you the server, select the instance by click on the checkbox on left side and press Connect option.

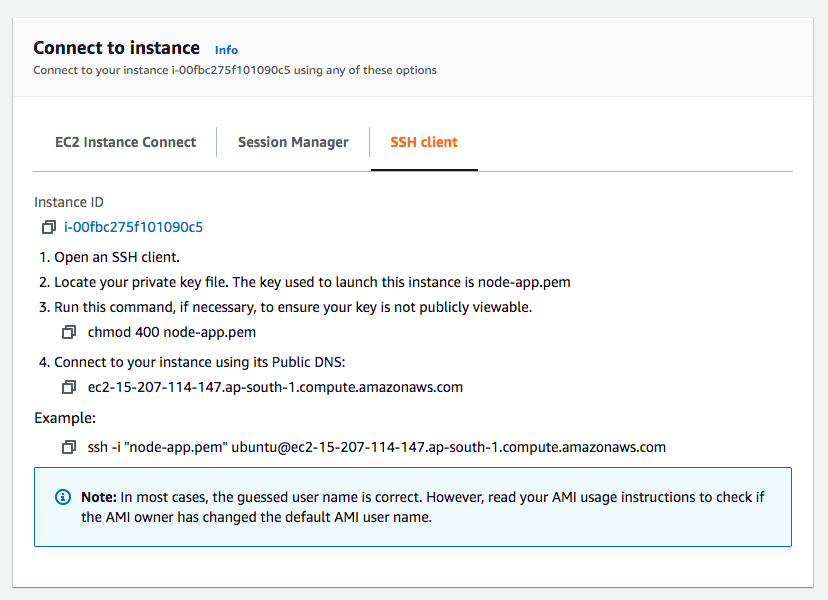
Let's connect to the server in the terminal Navigate to the folder where you have downloaded the key-pair file, which is of .pem extension Now follow the steps as mentioned over here:
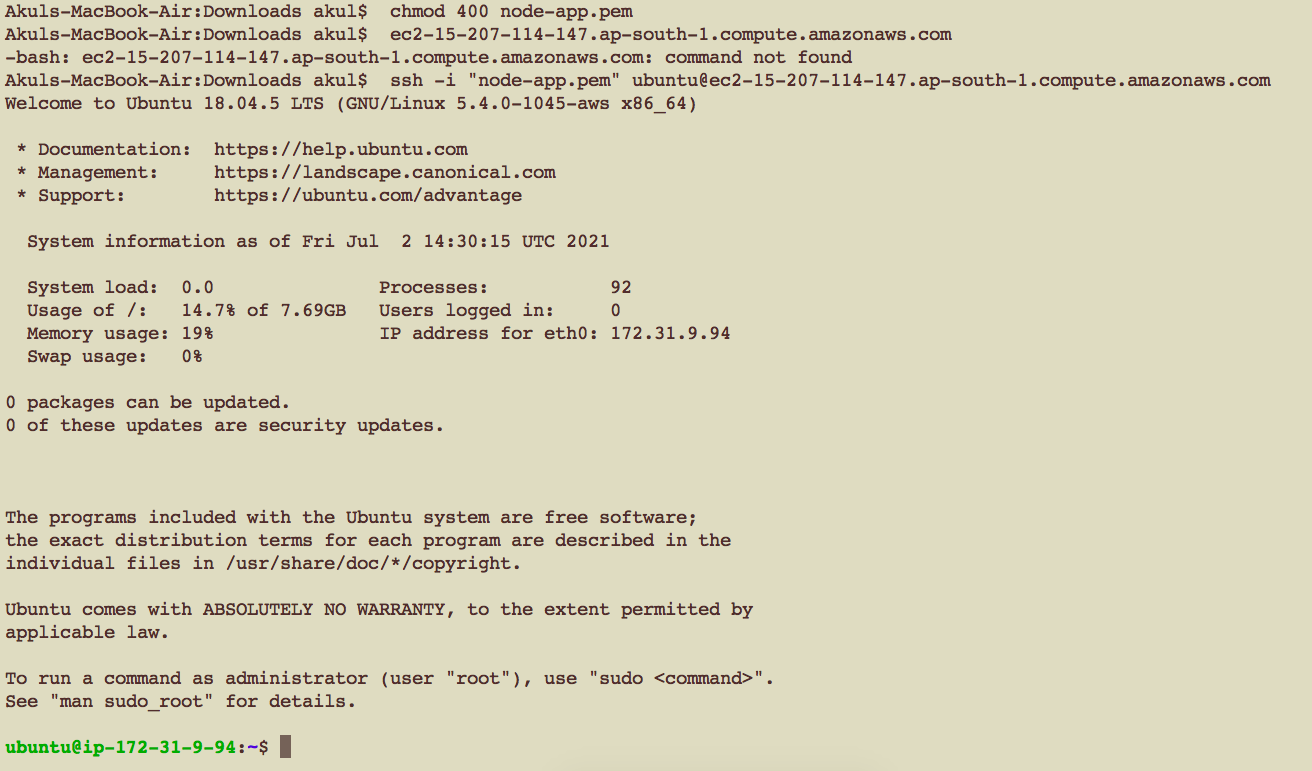
Once you're connected, you will see something like this
In order to run node app in server we need to install nodejs in the system first.
curl -sL https://deb.nodesource.com/setup_14.x | sudo -E
sudo apt-get install -y nodejs
Now, you need to host your code on github. Once your project is on Github, you can clone it on your server. Goto your github repository and copy the git url.
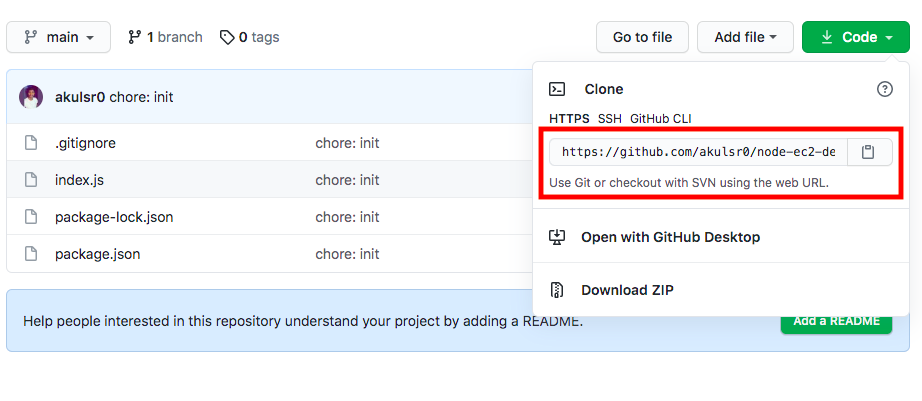
Now goto your server (in terminal), and clone the repository Replace the url with your git url.
git clone https://github.com/akulsr0/node-ec2-demo.git
Now we have node and npm installed on the system. It's time to run the app.
Navigate to the cloned repository, do npm install and run your index.js file.
cd node-ec2-demo/
npm install
node index.js
Now you need to add, security group inbound rules in your instance, so that it can be accessed by anyone (any IP basically)
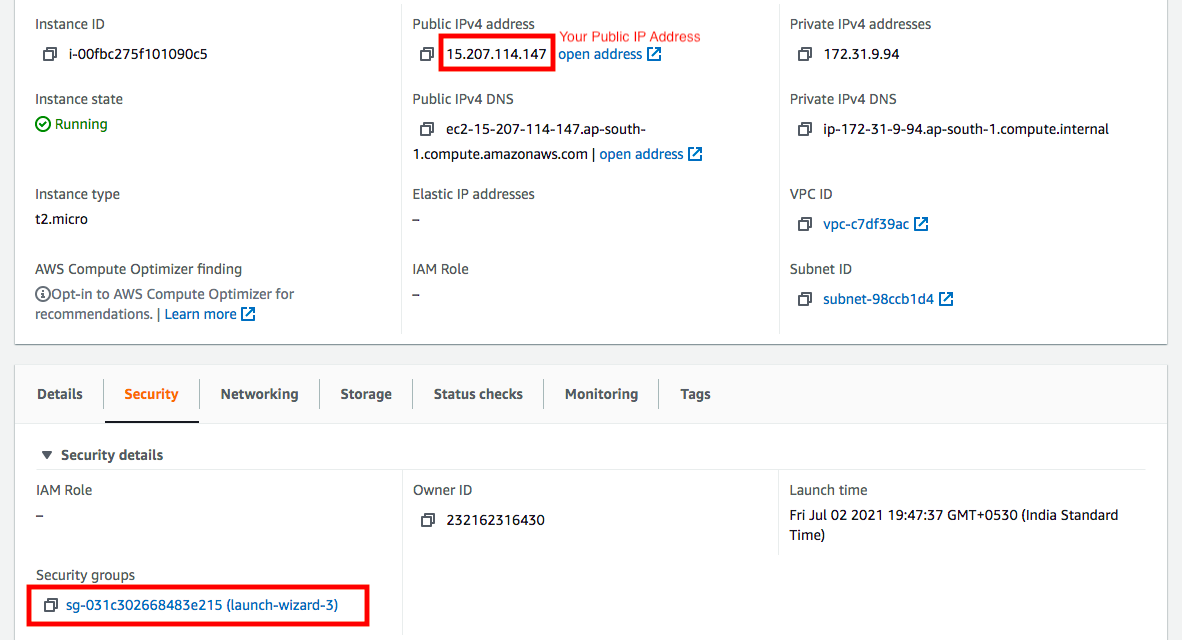
Click on your Security Group > Edit inbound rules > Add Custom/TCP and PORT Choose 'Anywhere' to get your app accessed by any IP address. And, Save Rules

Now you can visit your node app on you Public IP Address (with PORT), i.e. https://15.207.114.147:4000/ in our case.
But there is a catch here, if you exit the app from terminal, then you will no longer be able to access your node app.
5) Using pm2 for running our app continuously
In order to keep our node app running even after exiting the server. We can use pm2 to manage the app.
npm i -g pm2
sudo pm2 start index.js

6) Finishing off
Now your app will be available on your server's Public IP Address. You can quit the server and it will be running forever until you close or kill it manually. Here are both the routes that we created in our express app, hosted on Amazon EC2 Server.